The RØDECaster Video, the original.
The full-size RØDECaster Video. Six video sources, nine audio channels, real faders, and the kind of touchscreen that makes you feel like you're sitting in a small TV control room. This guide covers every port on the back, what plugs in where, and how to get from "still in the box" to "first picture on screen" without panic.
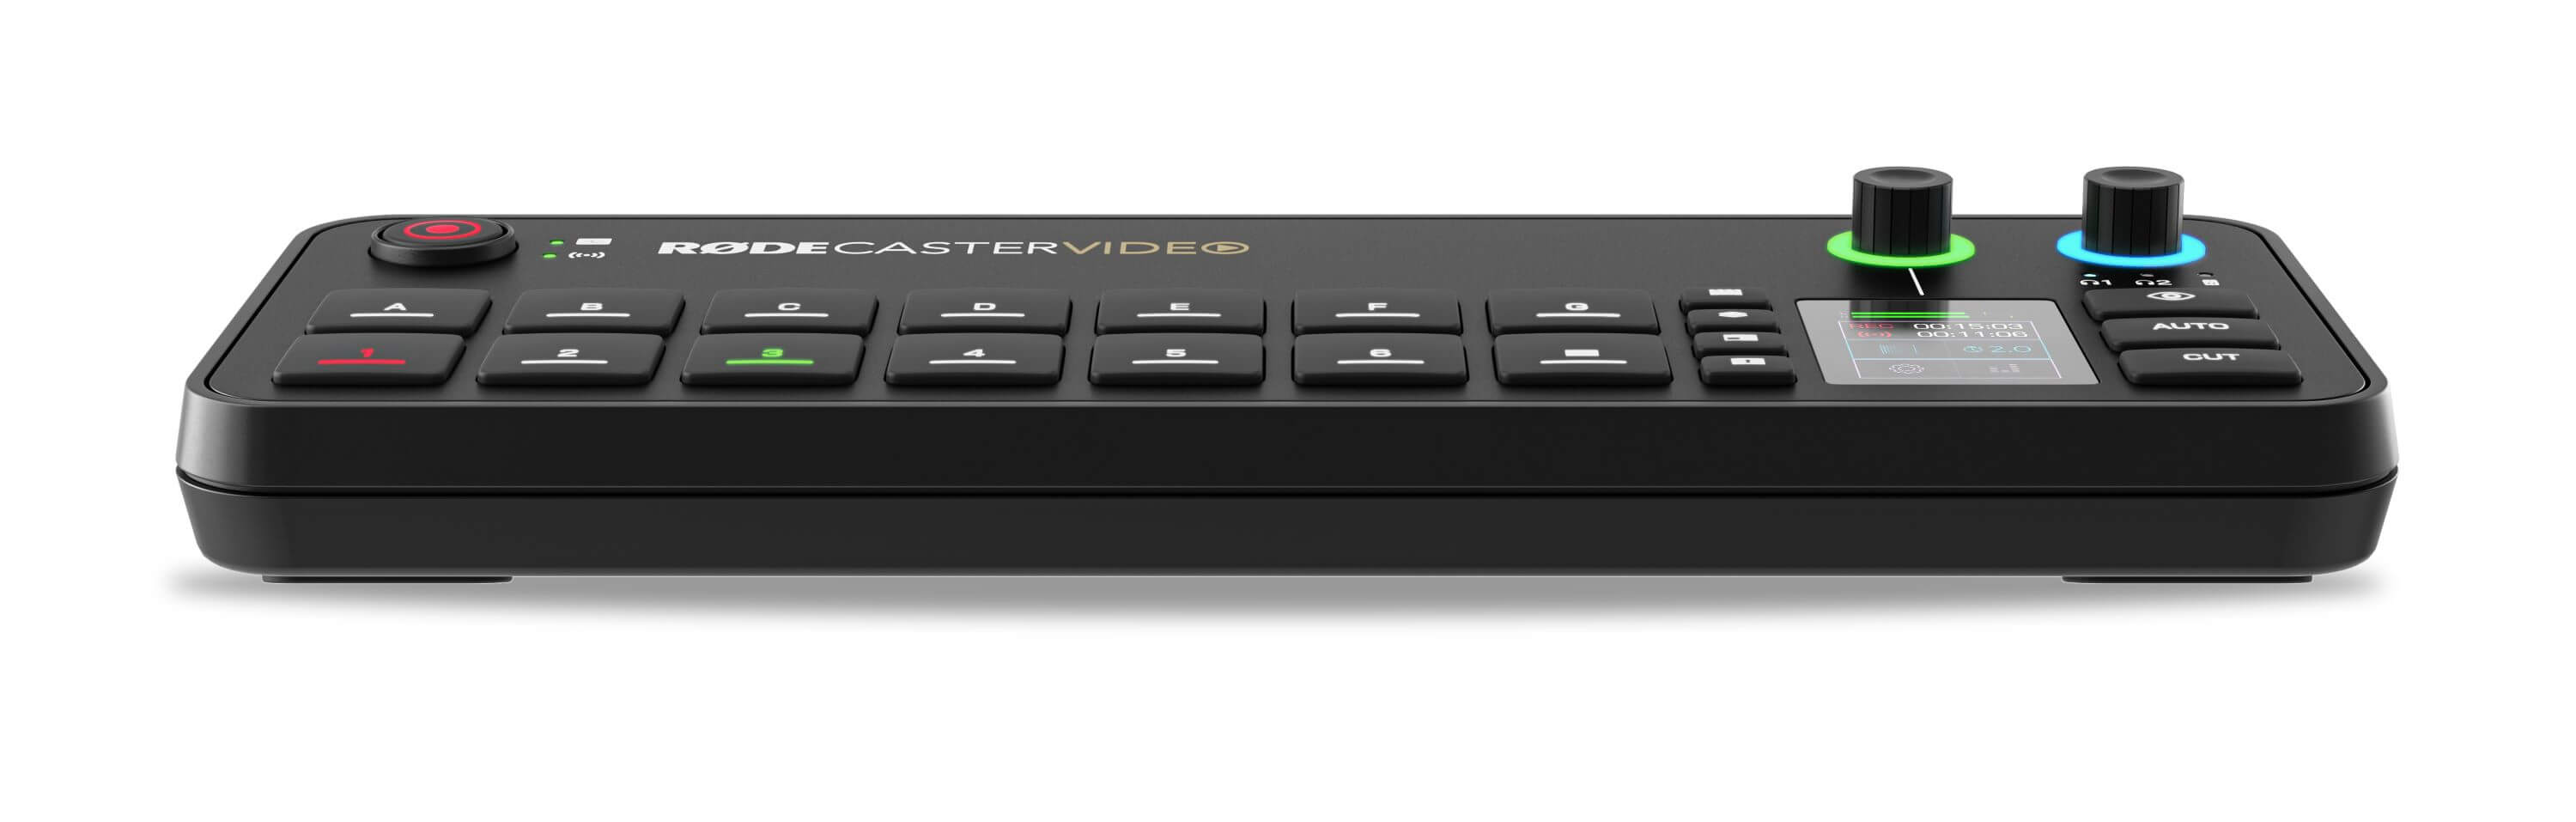
It's a small TV control room you can fit on a desk.
The RØDECaster Video is a production switcher — the kind of box that takes signal from several cameras, several microphones, and a couple of computers, lets you decide what the audience sees and hears, and sends one finished feed out to a recording, a stream, or a meeting app. Think of it as a complete TV station with the building, the staff, and the legal department removed.
Where most boxes specialize — either video or audio — the RØDECaster Video is one of the few that does both seriously. Real microphone preamps. Real faders. A real touchscreen. Direct streaming to YouTube and Twitch. ISO recording so you can re-edit later. It's the device RØDE built when they decided to make the audio version of an ATEM.
Up to six video sources and nine audio sources go in; one mixed video-and-audio feed comes out; the touchscreen and the four function buttons let you orchestrate the whole thing without ever touching a computer.
What you get over the smaller sibling.
If you're choosing between this and the Video S, here's what the bigger box adds:
- One more HDMI input. 4 HDMI in, vs. 3 on the Video S. Useful if you have four cameras and don't want to give one of them up to USB.
- One more USB-C input. 2 USB-C ports for webcams and capture devices, vs. 1 on the Video S.
- Real physical faders. The Video S has touchscreen-only audio control. The original has actual hardware faders, which makes mid-show audio adjustments far less stressful.
- More mixed audio sources. Up to 9 simultaneous audio channels for mixing, vs. fewer on the S.
- Speaker outputs. A pair of monitor outputs to feed studio speakers directly. The Video S leaves you to use headphones or a separate monitor.
- A larger touchscreen and 4 function buttons for media, graphics, layouts, and keying.
- EDL export to DaVinci Resolve. The original ships with the project-export workflow that lets you re-edit a recorded show in DaVinci with all the source clips intact. (See section 6.)
What you don't get is portability. The original is bigger, heavier, and meant to live on a desk full-time. The Video S fits in a backpack.
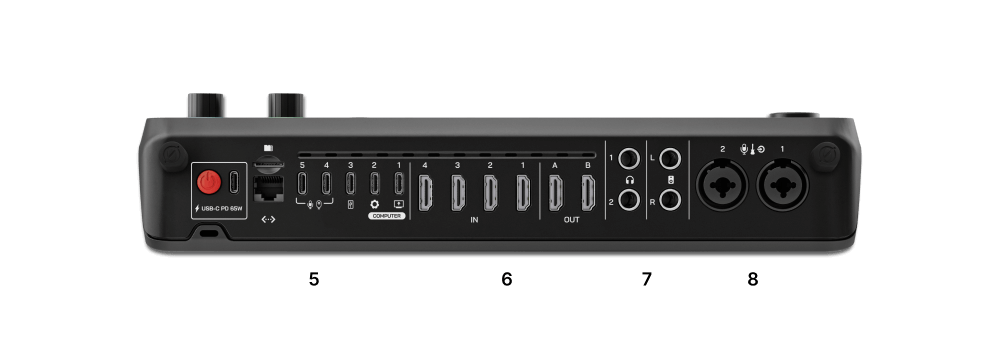
Every socket on the back, in plain English.
Holding the unit and looking at the back, this is what you'll see — and what each thing is for:
What plugs into what, and why.
Same question every owner asks on day one: "I have a camera. Where does it go?" The answer depends on the cable coming out of the camera. Here's the cheat sheet:
Sony A7-series, Canon R-series, Fujifilm X-series, Panasonic Lumix, Nikon Z-series — any modern mirrorless with a "clean HDMI out." Cable: micro-HDMI or mini-HDMI to full-size HDMI.
Sony, Canon, Panasonic camcorders, Blackmagic Pocket Cinema, GoPro Hero with HDMI media mod. Cable: usually full-size HDMI to full-size HDMI.
A laptop's HDMI out, an iPad with USB-C-to-HDMI adapter, a PS5, a Switch, an Apple TV. If it has HDMI out, it works as a video source.
Logitech BRIO / C920 / StreamCam, Insta360 Link, Anker PowerConf, Elgato Facecam — any UVC webcam that can do uncompressed 1080p. The webcam must support YUV / NV12, not only H.264. What does that actually mean? →
Elgato Cam Link 4K, Magewell USB Capture, Blackmagic Web Presenter. The original has two USB-C inputs, so you can run two capture cards plus four HDMI cameras for a six-source studio.
RØDE's free Capture app turns an iPhone into a 1080p UVC webcam over USB-C. Plug iPhone → USB-C cable → RCV USB-C IN, open the app, and you have another camera.
PTZOptics, OBSBOT, Newtek Spark — pan-tilt-zoom cameras that broadcast over the network. The RCV pulls multiple NDI streams over Ethernet without using HDMI or USB ports.
Any NDI-capable software (OBS with NDI plugin, vMix, Zoom Rooms) on your network can be brought in as a video source. Means another computer in the next room can be a "camera."
The hardware can physically accept four HDMI plus two USB-C plus an NDI stream — that's seven cables — but the switching engine is rated for "up to six simultaneous video feeds." Pick which six you want active and the touchscreen handles the rest.
From "still in the box" to "first picture on screen."
Same approach as with any switcher: get one camera working before you try anything fancy.
- Plug power in last. Connect everything else first — one camera into HDMI IN 1, one microphone into XLR/TRS 1, headphones, an HDMI cable from HDMI OUT to a TV, and an external SSD into USB Storage. Then plug power in.
- Wait for the touchscreen. The RØDE logo appears, then the home screen. If the screen stays black, double-check the power adapter is the supplied one (it has a real DC barrel jack, not USB-C).
- Tap the camera tile on the touchscreen. You should see your camera's picture. Black screen? The camera probably isn't outputting clean HDMI — check the camera's HDMI Info Display setting.
- Pull the first fader up slightly. Talk into the mic. The level meter beside the fader should move. If not, the channel is muted, the gain is at zero, or the mic needs phantom power (toggle the +48V from the touchscreen).
- Plug HDMI OUT into a TV. You should now see your camera and hear your mic on the TV. Congratulations, you have a one-camera studio.
- Stop here for the day. Don't try to learn ISO recording, scenes, transitions, chroma key, EDL export, and streaming all at once. Build muscle memory on the basics, come back tomorrow.
Why the original is a different kind of useful.
The original RCV's big trick is ISO recording: every video source gets recorded as its own separate file in addition to the mixed program. So a one-hour podcast with three cameras gives you four files — the finished mix plus three "isolated" camera angles — all in sync, all on the same SSD.
That alone makes it worth the upgrade if you ever re-edit anything. But there's a second trick: the RCV exports an EDL (Edit Decision List) that DaVinci Resolve understands natively. You drop the EDL plus the ISO files into DaVinci, and it rebuilds your timeline with every camera cut already in place — you can then change your mind on which angle was used at any moment, without re-editing from scratch.
This is the feature that makes the regret undoable. Record everything as ISO, hate your live cut, open DaVinci, change your mind, finish the edit. The Video S can't do this; the original can.
Things that look broken but aren't.
- Black screen on a camera input. Almost always the camera's HDMI overlay, not the RCV. Find "Clean HDMI" or "Info Display: Off" in the camera menu.
- The fader feels disconnected from the audio. The faders work in banks. Check the touchscreen for which bank is currently active — you might be moving fader 1 in the wrong bank.
- Webcam shows up but the picture is choppy or wrong color. The webcam is sending compressed video. Check its driver settings for an uncompressed (YUV/MJPEG) output mode. More on this →
- ISO recording stops after a few minutes. Almost always SSD throughput. Use a fast (1000 MB/s+) USB SSD — cheap thumb drives can't keep up.
- "Why is everything 1080p, where's 4K?" The internal switching is 1080p. If you have 4K cameras, they downconvert to 1080p out. 1080p is still excellent for streaming and most online video.
- EDL files don't open in Premiere or Final Cut. The EDL is tuned for DaVinci Resolve. DaVinci Free is enough — you don't need DaVinci Studio.
Once the one-camera setup is comfortable.
- A second camera and the cut transition. Two cameras, tap to switch. This alone makes a podcast look 10× more professional.
- The four function buttons. Media, Graphics, Layouts, Keying — one-tap access to lower thirds, picture-in-picture, chroma key, and pre-built layouts.
- ISO recording and DaVinci EDL. Set up SSD recording, do a test session, then practice opening the EDL in DaVinci. This is the single biggest upgrade in workflow over editing live.
- The RØDECaster app. Wireless control from a tablet or phone. Useful when the unit isn't sitting in front of you.
- Pairing it with an ATEM Mini Pro. If you want even more video switching power, you can run them together — that's covered in the tandem guide.